In Part 1 of this blog post, I described the Bernat Sesame yarn I received as a gift from a good friend and how I had to prepare it (i.e., hank, wash, dry, and skein the yarn) before I could actually begin crocheting. I learned a big lesson in that I really need to take the time to thoroughly wash the rest of the yarn (all 20+ pull-out pouches) since it is a bit old and moldy. But once these steps are taken, the yarn is like new and ready to crochet or knit with.
The Purse Body
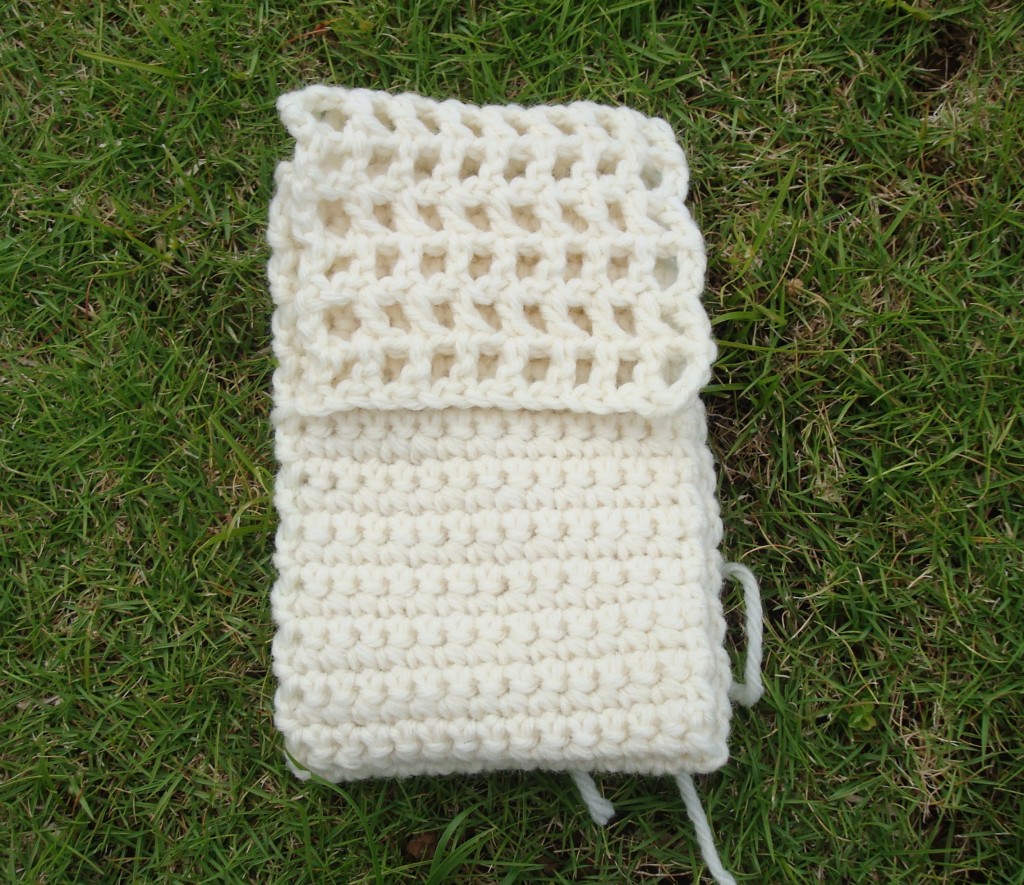
The purse body is simply rows of straight single crochet, about 14 stitches per row. Next time I make this purse, I’m going to make it more square. The rectangle shape is supposed to accommodate the new smart phones or an iPad, but I think I made it too long. If your intention is to make a cozy for your phone or other electronic device like and MP3 player or a camera, measure the device and add a few extra rows and stitches so that it fits inside the pouch with some room around the sides and top.
I typically don’t make a gauge swatch because the bag is going to be small. Instead, I make a chain and place it along the bottom of the device, then add a few more chains to the width for ease. Then I crochet a square or rectangle a little more than twice the length of the device for the purse front and back. Then, once I’ve made my freeform flap, I sew the flap to one end of the purse.
The Freeform Crochet Purse Flap
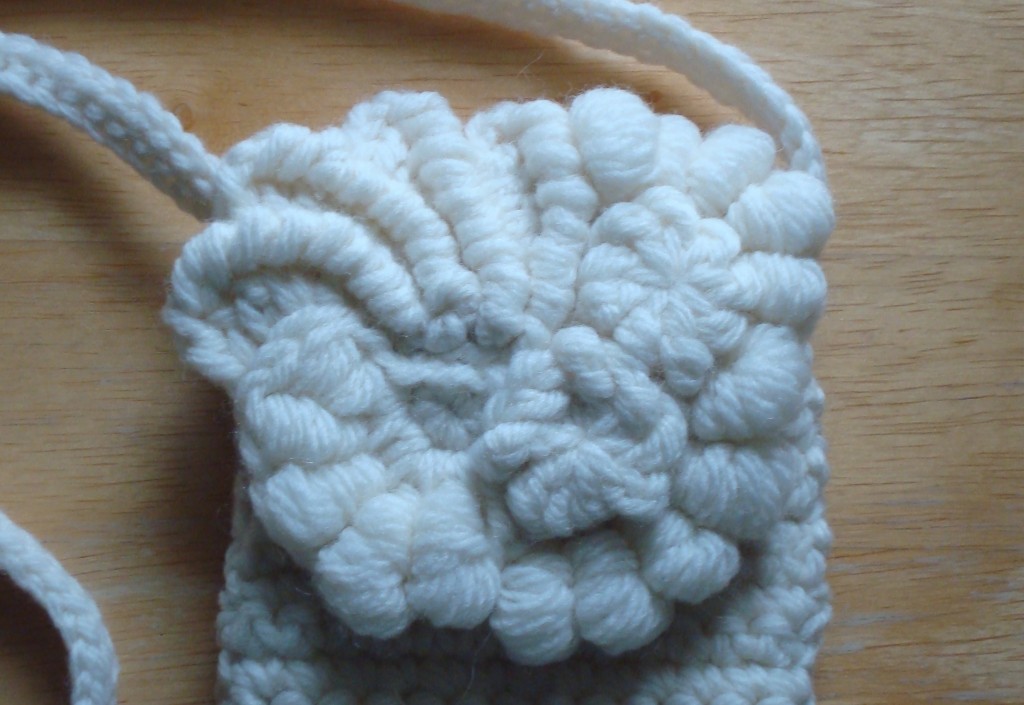
Since I had already crocheted the purse body and washed it along with the rest of the yarn, my next task was to create the freeform crochet flap. I wish I’d taken a photo of the individual pieces I used to create it, but if you look carefully, you will see that there are six motifs that make up the flap –
- 1 “Lazy J” (aka crochet wings, fairy wings) motif in the upper left corner
- 3 bullion stitch motifs around the bottom and right edge of the flap
- 2 treble crochet circles nested next to the bullion stitch motifs.
As you can see, in order to create a one-color freeform crochet piece with smooth yarn, you have to use a lot of textured stitches. I could probably have added some textured yarn I have in my stash to the flap, but I didn’t this time. I’ll probably do that with the next purse.
How to Make the Stitches
I recently wrote an article that provides tips on how to make the perfect bullion stitch that also includes a video by Margaret Hubert that shows you, step-by-step, how to make this stitch. The bullion stitch motifs in this purse are all made on one short row or half circle of single crochet. (Note: I’m no longer on HubPages, so the article isn’t currently available. I’ll be updating and re-posting it here soon.)
The treble crochet circles are extremely easy to make; you simply crochet about 10 or so trebles in a ring. Because the stitches are so tall, they will naturally bend over to create a nicely textured circle. The more stitches you have in your initial ring (some people ch 4, join with a slip stitch, and then crochet inside the chain; I chain 5 and crochet the trebles in the first chain), the firmer the circle will be.
Instructions for the Lazy J motif are included in the Lion Brand Outside the Lines Purse pattern which you can find here (called a “leaf” in the pattern).
There are a lot of ways to make this motif, so you can also Google it to find variations in how it’s made.
Sewing the Flap onto the Purse Body
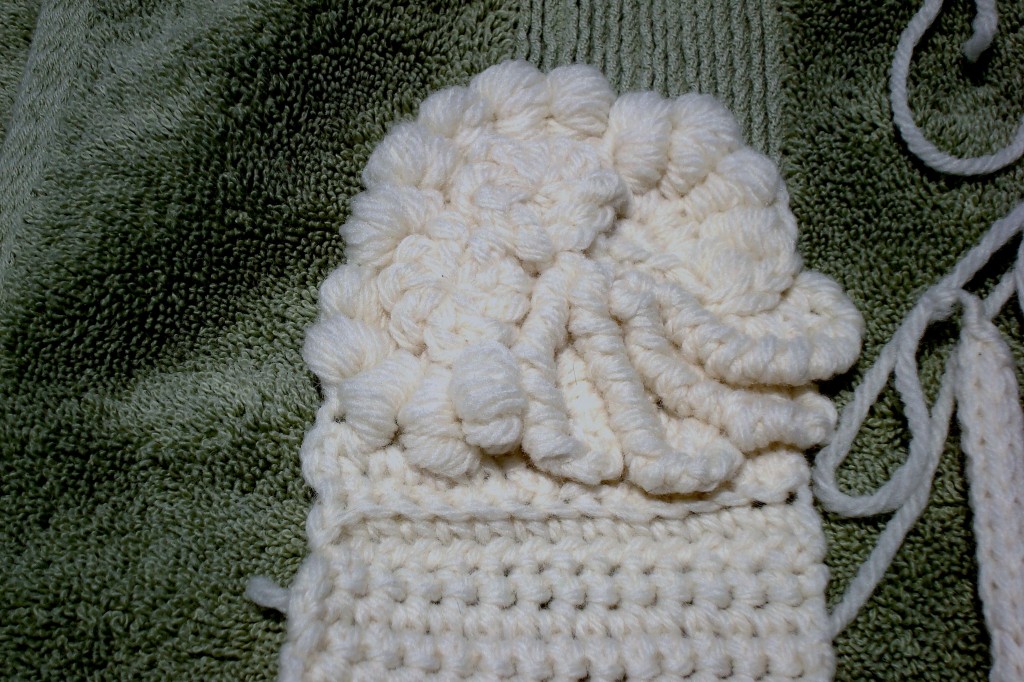
I had to add a couple of rows of crochet to the back of the flap so that it would be easy to sew it onto the purse body. It’s a simple matter of strategically picking up strands of yarn at the back of the flap and single crocheting from one end to the other.
If the stitches don’t form a straight line, I vary the height of the stitches on the next row, adding some half doubles where needed to make the row as straight a line as possible. I also make sure that this last row has the same number of stitches as the purse body, which means I may have to add or subtract a stitch along the way.
Lining the Purse
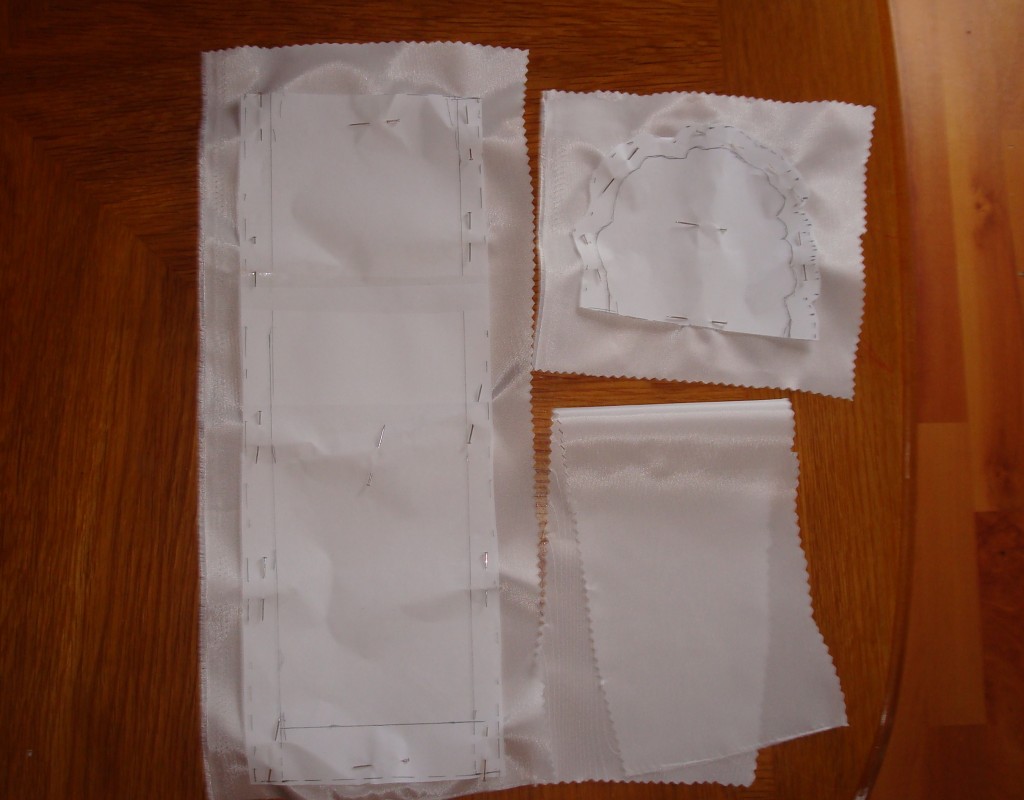
Once I had the flap sewn to the bag, I lined the purse body primarily because my stitches were fairly loose and I wanted to make sure any loose items one might put in the purse didn’t fall through the stitches.
One way to do this is to sew the purse side seams and then make a lining that you then insert, wrong side out, inside the purse and blind stitch to the top edge of the purse.
I usually struggle with this method because I use the purse body to draw a template or pattern on regular printer paper to which I add a half inch for seam allowance. I use this template to cut out the lining fabric. Then, when I sew the lining side seams up, the resulting pouch is always slightly larger than the purse interior.
All I really need to do is go back to the sewing machine and sew in a bit from the original seam to make the pouch less wide, but sometimes I just don’t feel like it.
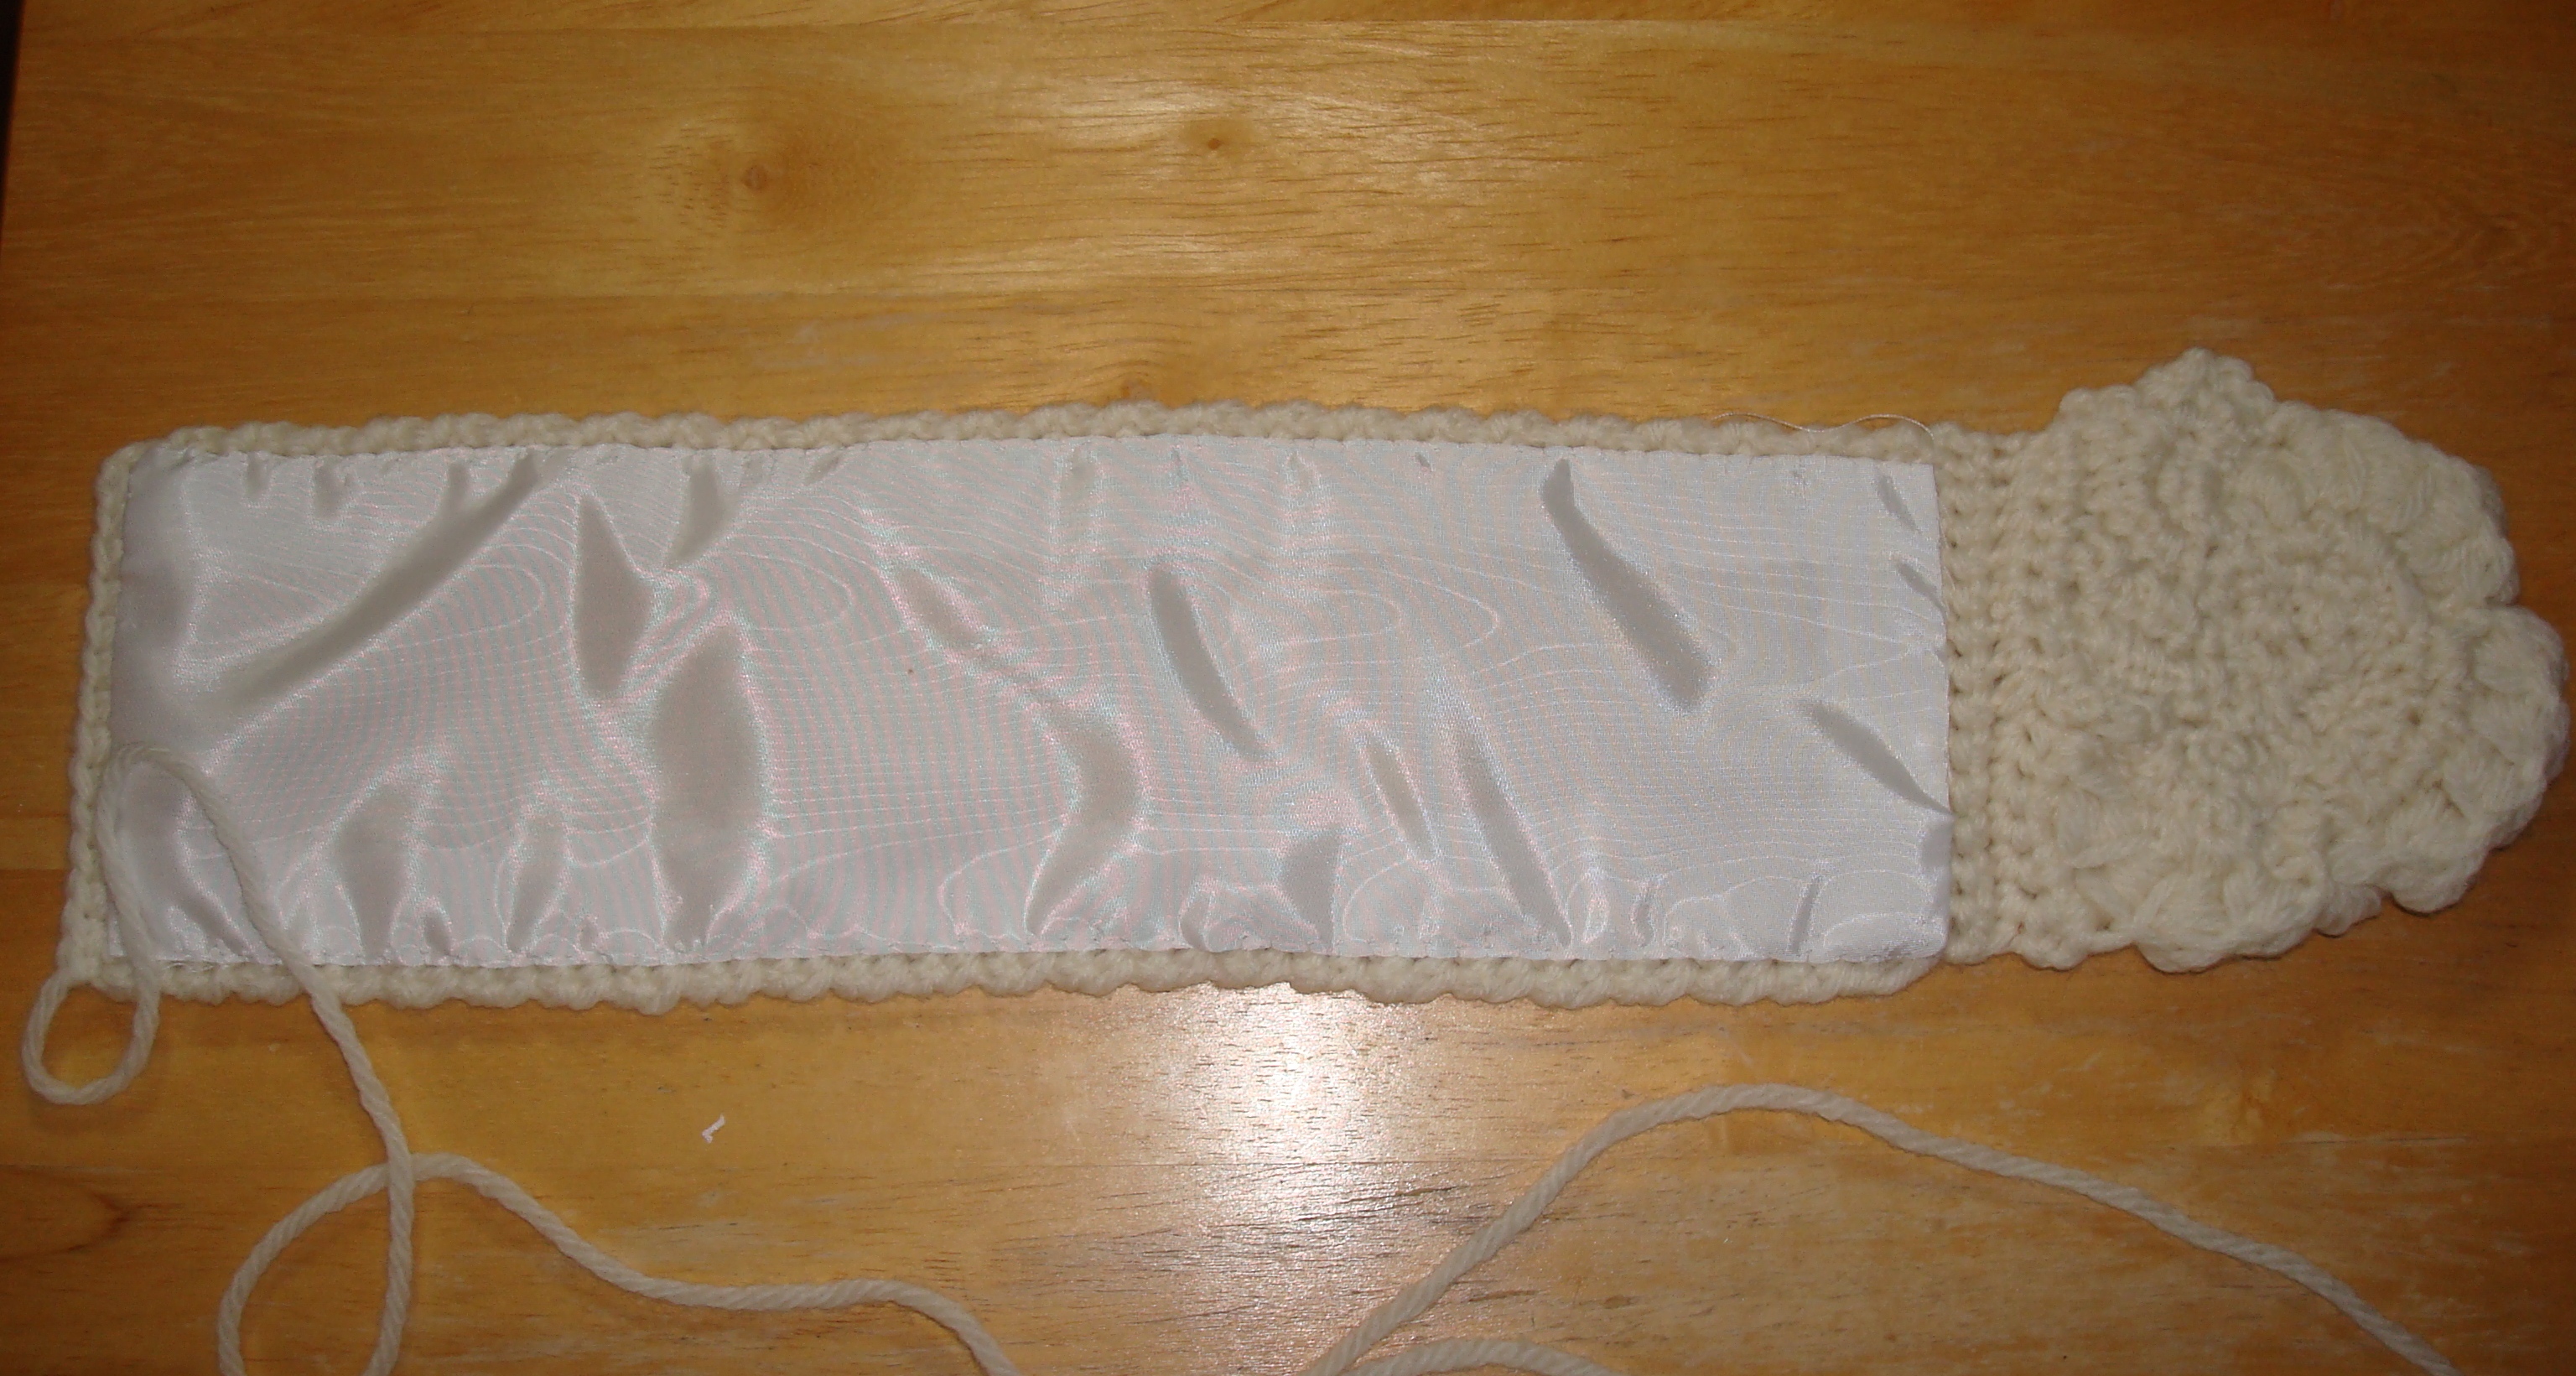
With this purse, I decided to sew the lining directly onto the purse body before sewing up the side seams of the purse body. I used a whip stitch to sew the sides of the lining to the purse and a blind stitch at either end. This worked okay, but I was a little sloppy sewing up the purse body side seams once the lining was in, so the body is slightly misshapen.
I also thought about lining the flap, but changed my mind. My patience with this purse was about at its end.
The Strap
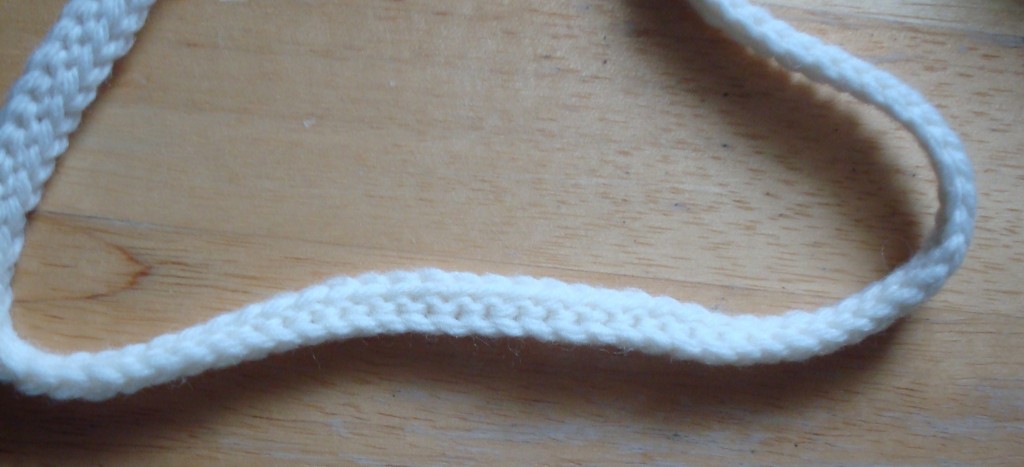
I was going to use an I-cord for the strap, but it wasn’t firm enough, so I switched to a strap made with three rows of slip stitches (aka Bosnian crochet).
I’m not sure when I’ll get to another purse. I have two afghan projects that I really need to get done; one has been languishing for months and I really want to finish it, so that’s what I’ll be focusing on. I’ll blog about both projects soon.


4 comments On Monochromatic Freeform Crochet Purse – Part 2: The Purse
I love the flap of you bag so much!
Thanks so much, Moira. I’m going to do some more, but I have to clean the yarn first. Will post something soon. Thanks for visiting! Will add your blog to my blog roll.
Thanks for sharing your adventures with the FFC group. Fun to read, and I look forward to the next installment.
You’re quite welcome, Margaret; thanks for stopping by!
Sliding Sidebar
Categories