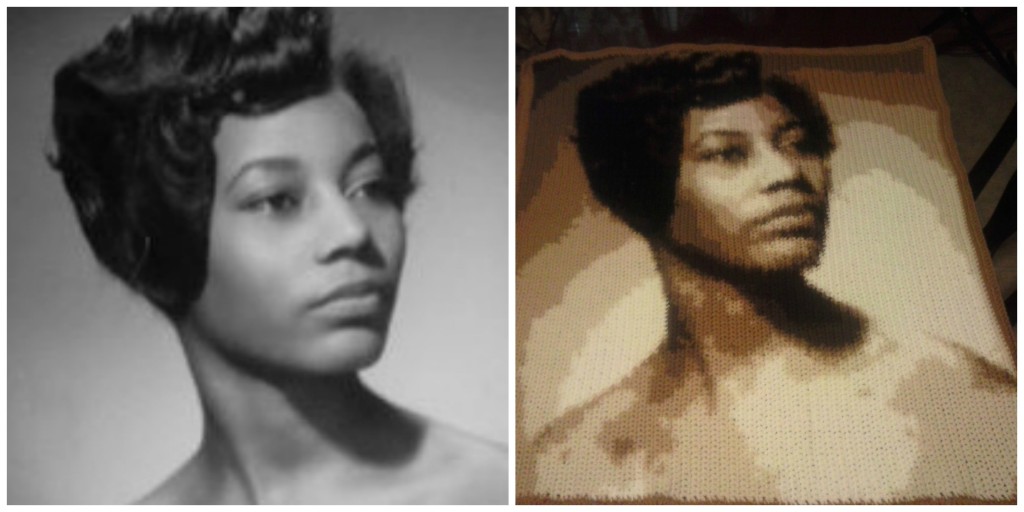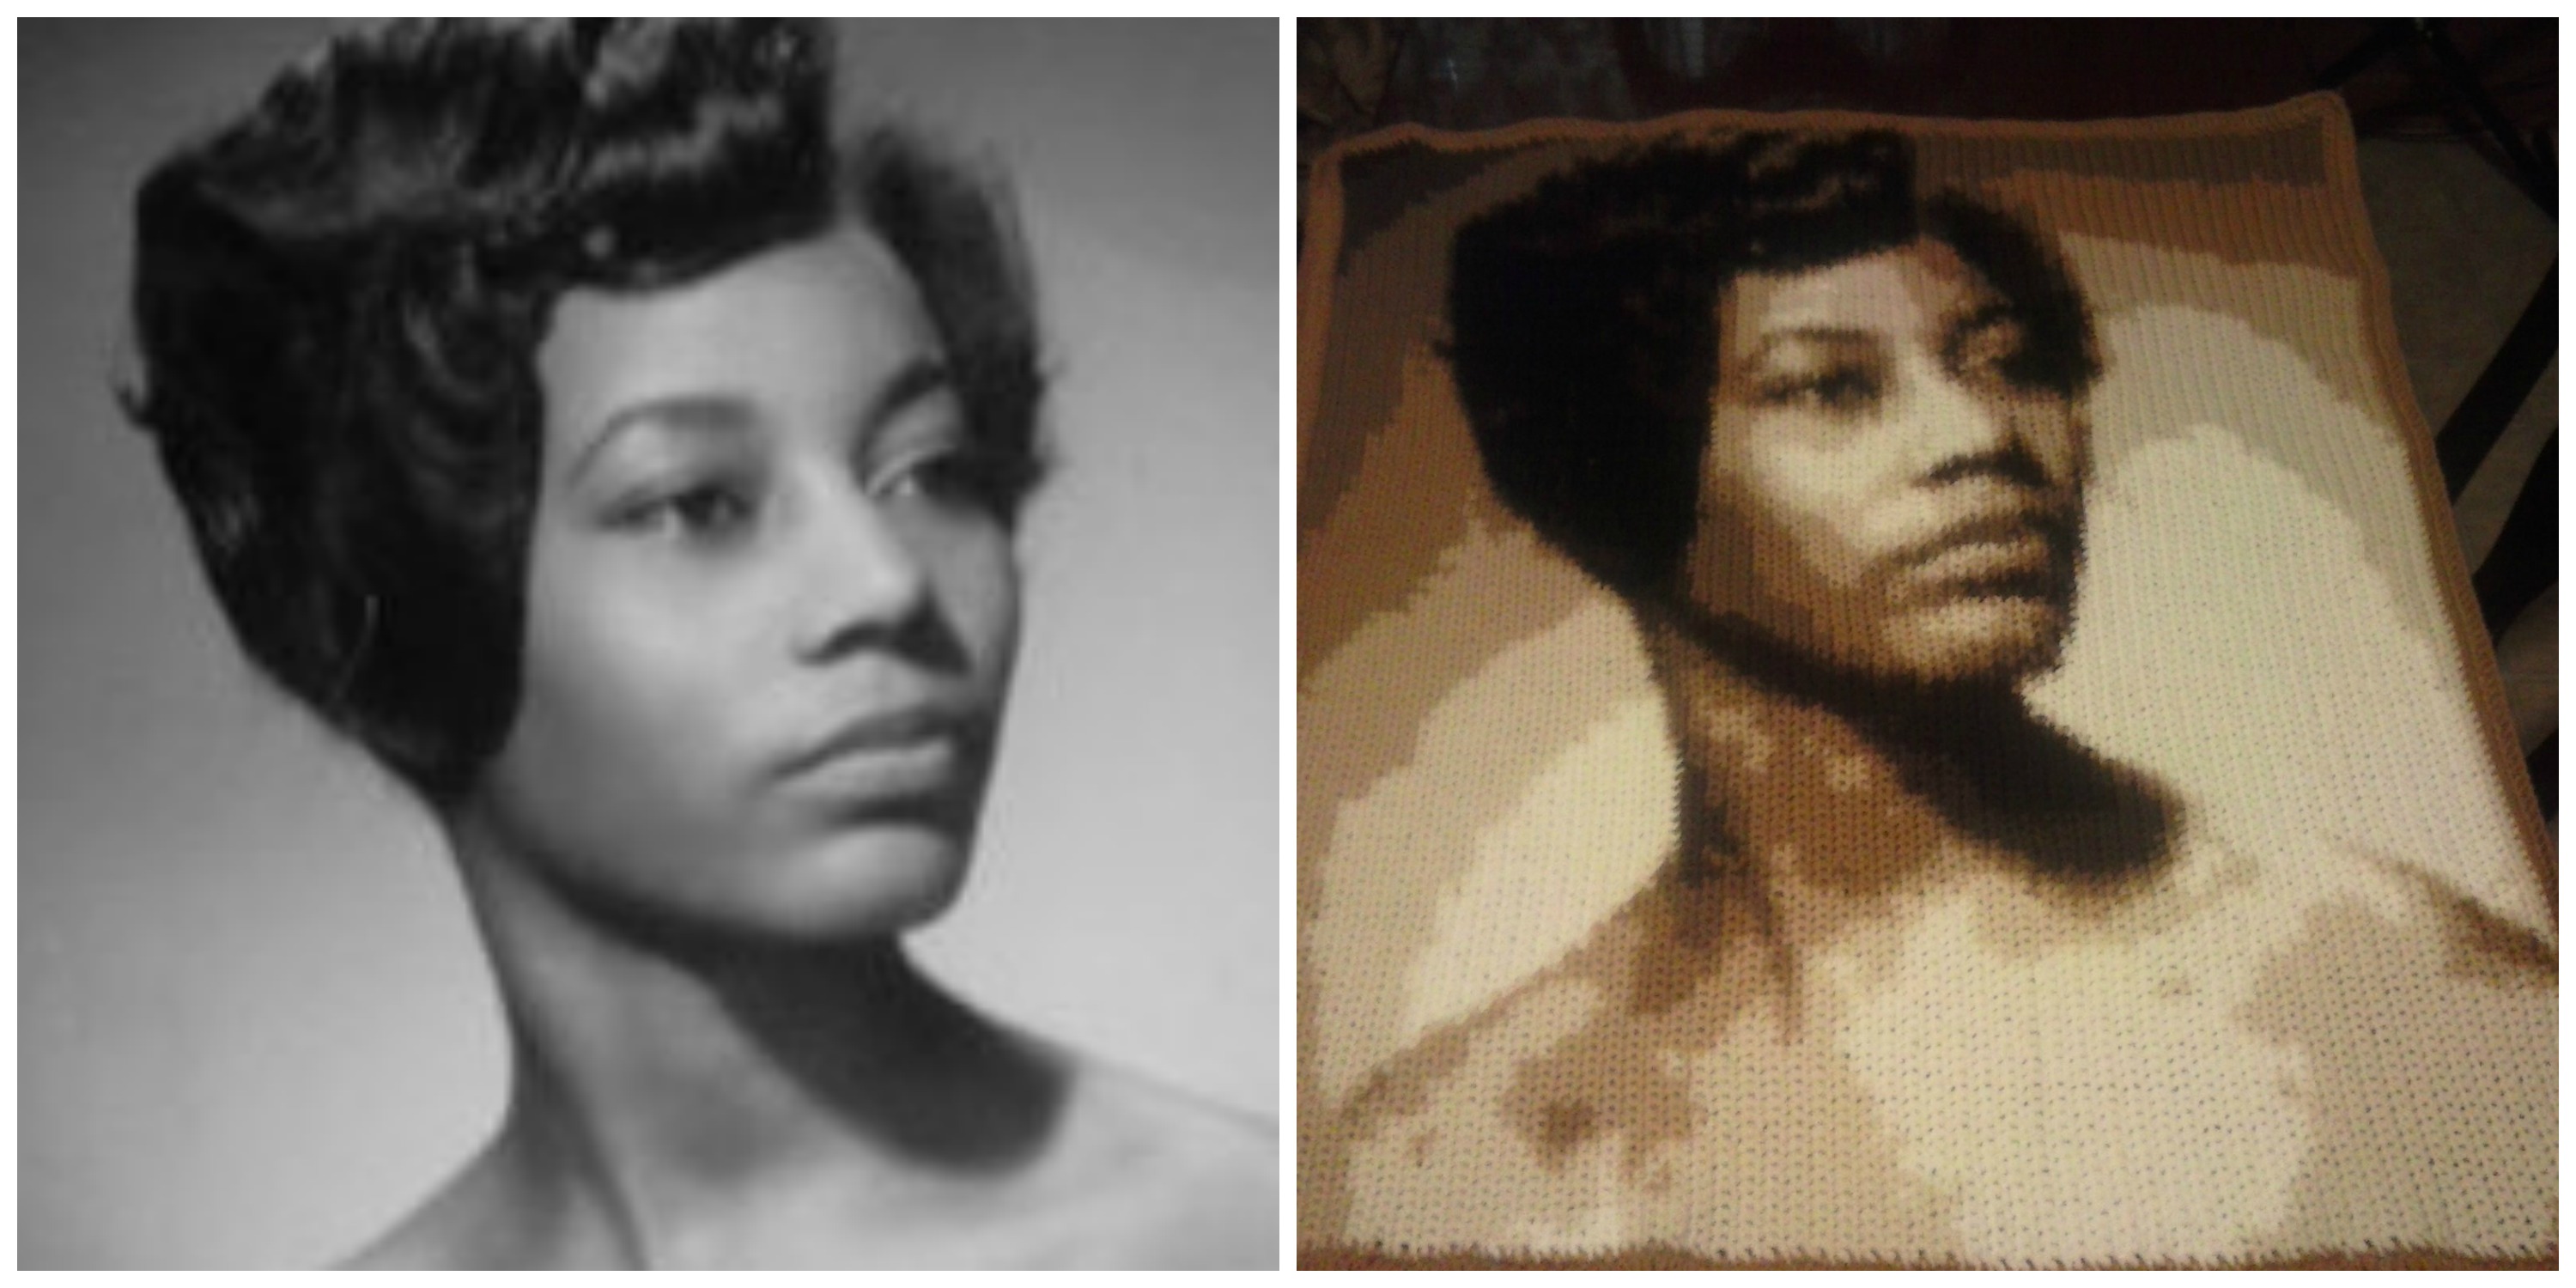
The photo you select for your crochet photo pattern can literally make or break the finished piece. Just any old photo won’t do. Here are some tips to help you select the perfect photo that will translate into a beautiful crocheted work of art.
- If you want to create a small piece, between 60 to 99 rows, the photograph can’t have a lot of detail in it. A photo with five people in it, for example, is not going to translate well as a finished piece because there’s simply too much detail to capture in this limited amount of space. Therefore, choose photos with a single subject such as a close up of one face in which the whites of the eyes can be seen, or one flower, or one butterfly.
- The more detail there is in the photo, the larger the piece needs to be to capture it in a way that will result in a realistic-looking crocheted image.
- Fuzzy, blurred photos will result in a fuzzy, blurred finished piece. Choose photos that are crisp, clear, and in sharp focus.
- Stray specks and marks in the photo will be picked up in the pattern image. Therefore, your photo needs to be as clean and clear as possible.
- Make sure your photo was taken in good lighting. You want the subject of the photo to be well lit, without shadows or other distortions bad lighting can cause.
- Photos that you own that were taken by a professional photographer make the best crochet photo pattern pieces.
- If you want to create a finished piece from an old photo that was taken before the advent of digital cameras, choose the best photo you can find based on the above tips. Then scan it, upload the scanned image to your computer, and send it to me. Scanning is the best way to create an exact duplicate of the photo. Just make sure your scanner is clean and doesn’t contain any stray marks that will show up in the scanned image.
Finally, keep in mind that a crochet photo pattern piece is not going to look EXACTLY like the photograph it is based on. For one thing, single crochet stitches don’t sit directly on top of each other; they slant a bit to one side. That slant is going to cause a little distortion in the finished piece such as slightly jagged lines.
Moreover, the single crochet stitch itself is not the perfect square you’re able to produce in a cross stitch pattern. That’s going to cause a bit more distortion in the finished piece.
Think of your finished piece as an oil painting. The closer you get to the painting, the easier it will be to see individual brush strokes (stitches). But as you move away from it, the individual brush strokes begin to disappear and an image that’s very close to the photo emerges.
BOTTOM LINE: Clear, crisp, sharp photos taken in good lighting will result in a finished piece that you will be proud of. To learn more about ordering custom-made crochet photo patterns, click HERE.


1 comments On Selecting the Perfect Photo for Your Crochet Photo Pattern Piece
Pingback: Tips on Selecting the Perfect Photo for Your Crochet Photo Pattern | Yarn Over, Pull Through ()