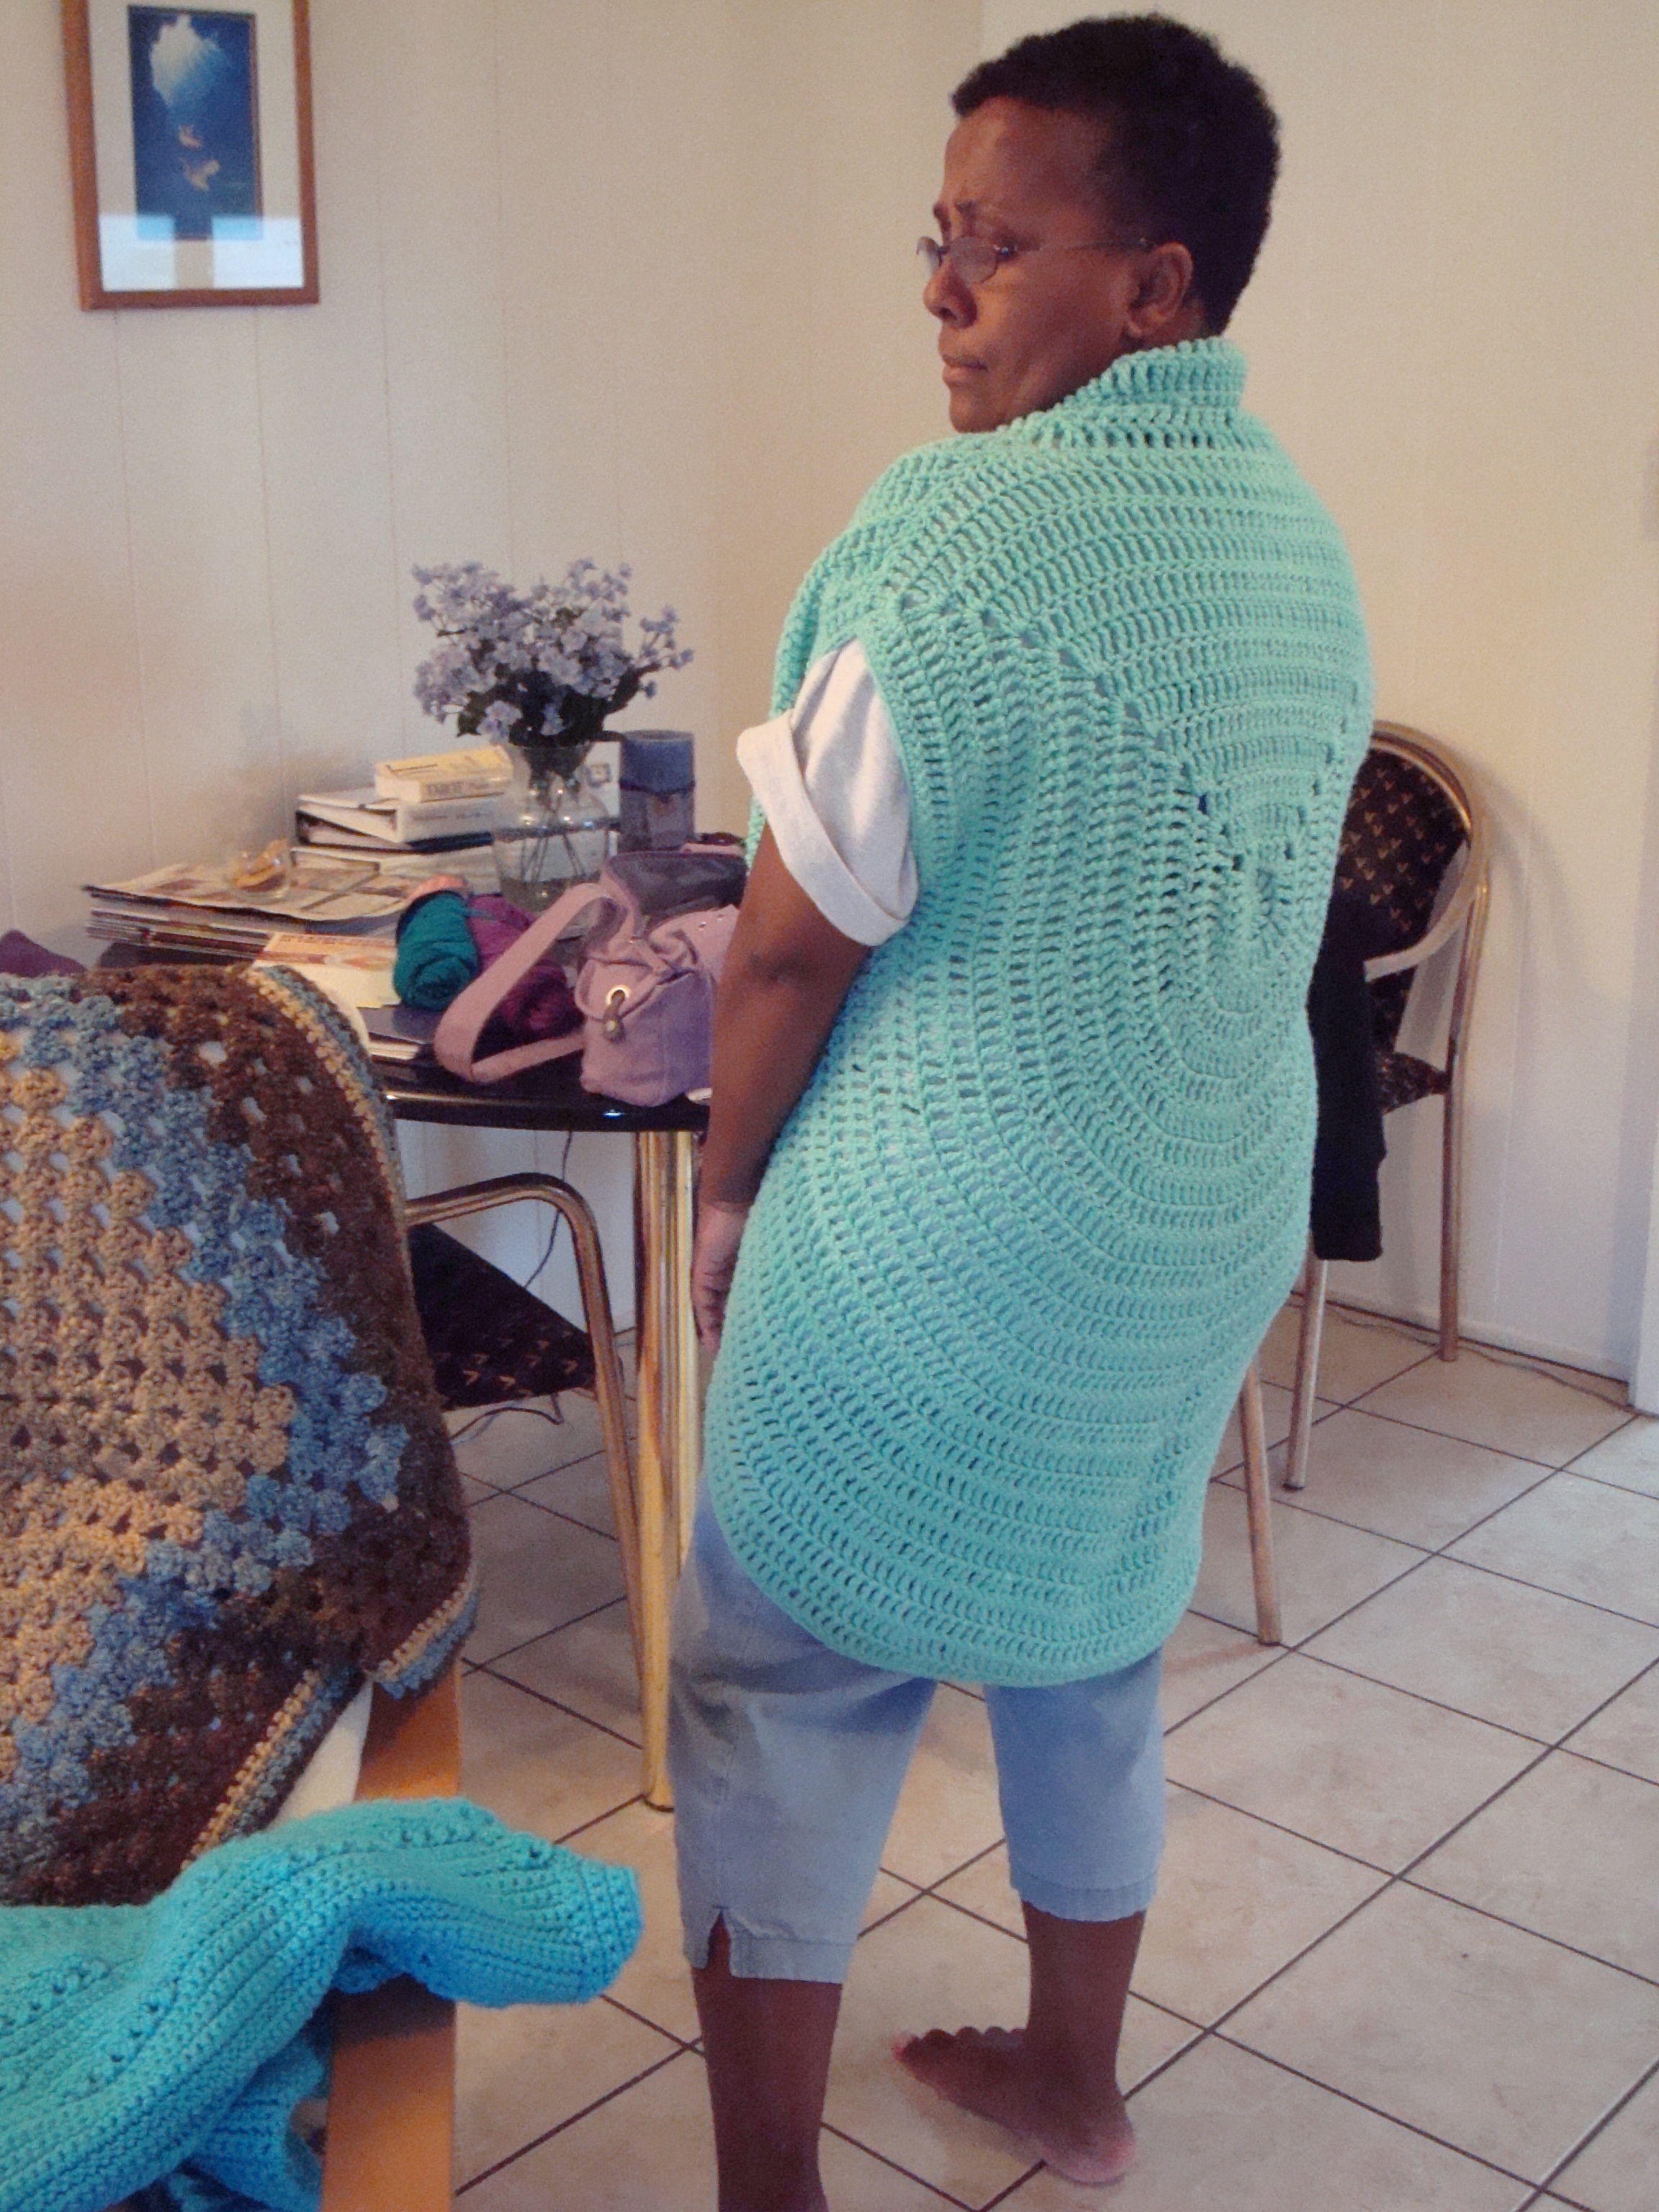
Last Sunday, October 9, 2011, a group of Aloha Knitters (and Crocheters and Spinners), myself included, got together to experiment with natural plant dyes at the home of member, M.K. Carroll. I had no idea how I was going to participate in this event, other than to watch and learn, because I had never dyed yarn before in my life, let alone dye it “naturally.” But I remembered that I had a bit of handspun wool roving that I’d purchased years ago at a Maryland Sheep and Wool Festival that I could probably use.

The inspiration for the “natural dyeing party” (no one actually expired, thank goodness) came about when M.K. commented on Facebook about a book called, The Handbook of Natural Plant Dyes: Personalize Your Craft with Organic Colors from Acorns, Blackberries, Coffee, and Other Everyday Ingredients, which she said was available at a local library here on Oahu. As more and more Aloha knitters, crocheters, and spinners added their comments about the book, and natural dyeing, the idea for the dye party took root and a date was set.
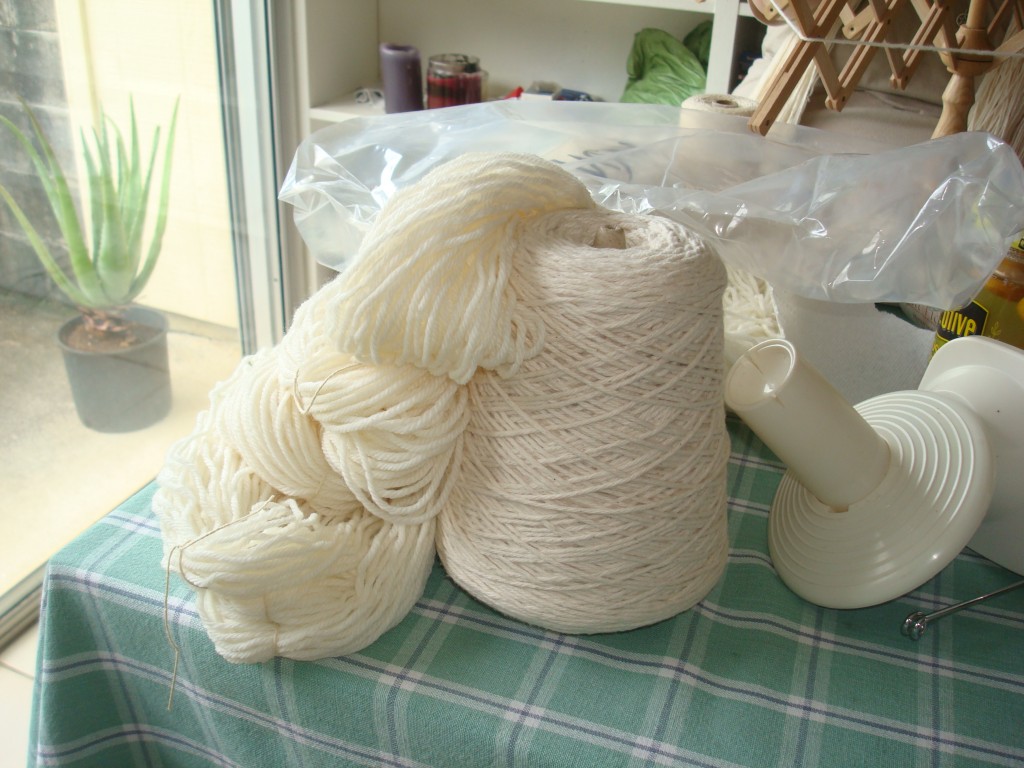
Members collected white and cream-colored wool, cotton, mohair and, yes, paper yarn and roving, as well as a variety of plant materials to work with, including bamboo, mint, turmeric, and pomegranates.
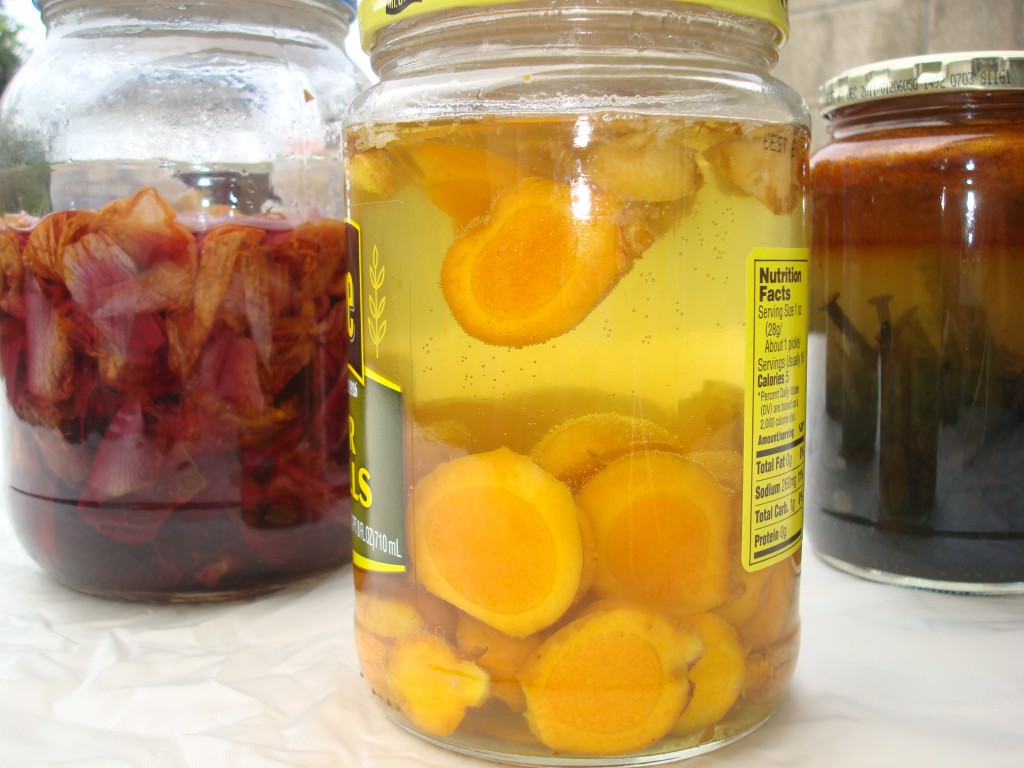
Also required was a substance called “mordant,” which I learned is needed to “set” the dye so that it doesn’t wash out. We had some “alum” mordant, harvested from a crystal body deodorant stick and “iron” mordant obtained from a batch of rusty nails and a pair of rusty scissors that had been soaking in water for several weeks.
If memory serves me correctly, these are the major steps of the dye process:
1) First, you have to soak the skeined yarn in water and a little detergent so that the dye will saturate the fibers.
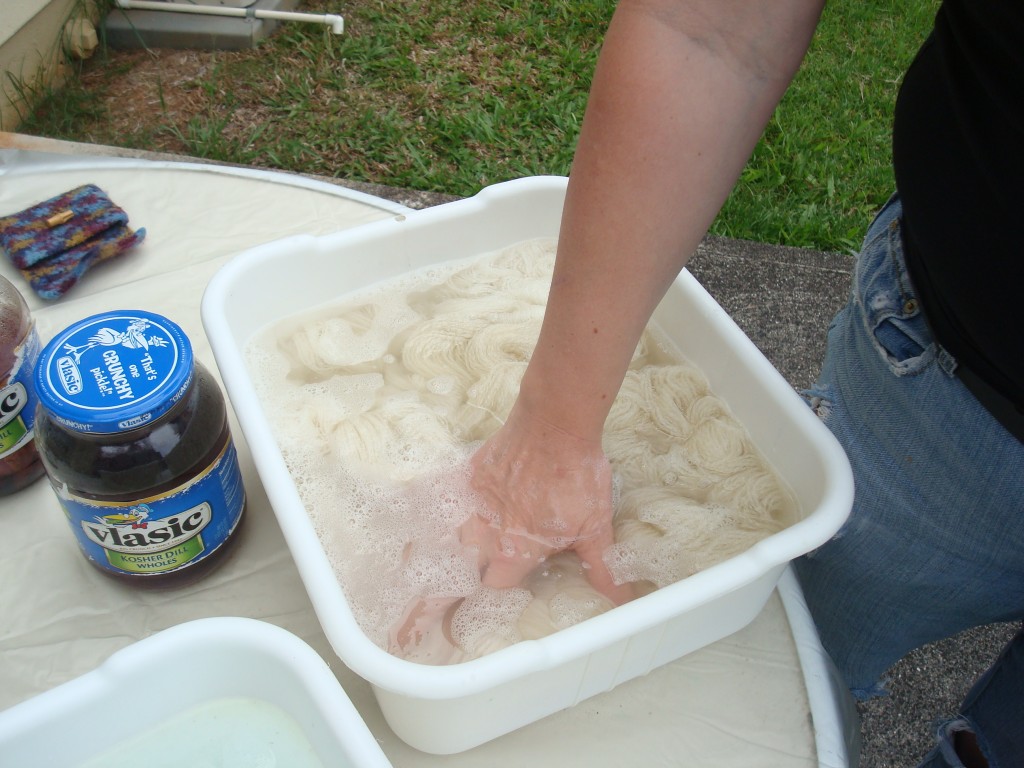
2) Next, you can either add the yarn to a mordant bath before you dye it or add the mordant to the dye bath after the yarn has soaked up the dye, both of which we did.
3) The third step is to add the yarn to the dye mixture, let it soak, and then rinse the yarn afterwards.
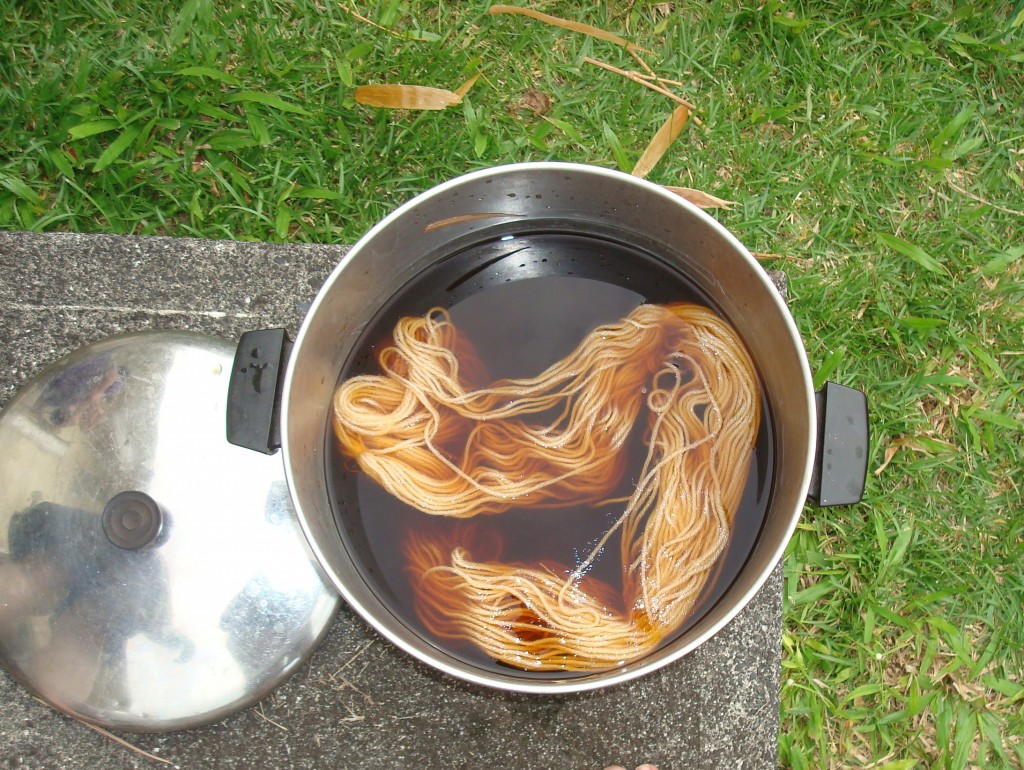
This is an extremely sketchy description of how we dyed the yarn, and I’m sure I’ve left out a detail or two. In any event, we got some pretty interesting colors. One thing we observed was that when alum mordant was used, there was no change in the color of the yarn, but the iron mordant made the yarn a darker shade of the original dye color.
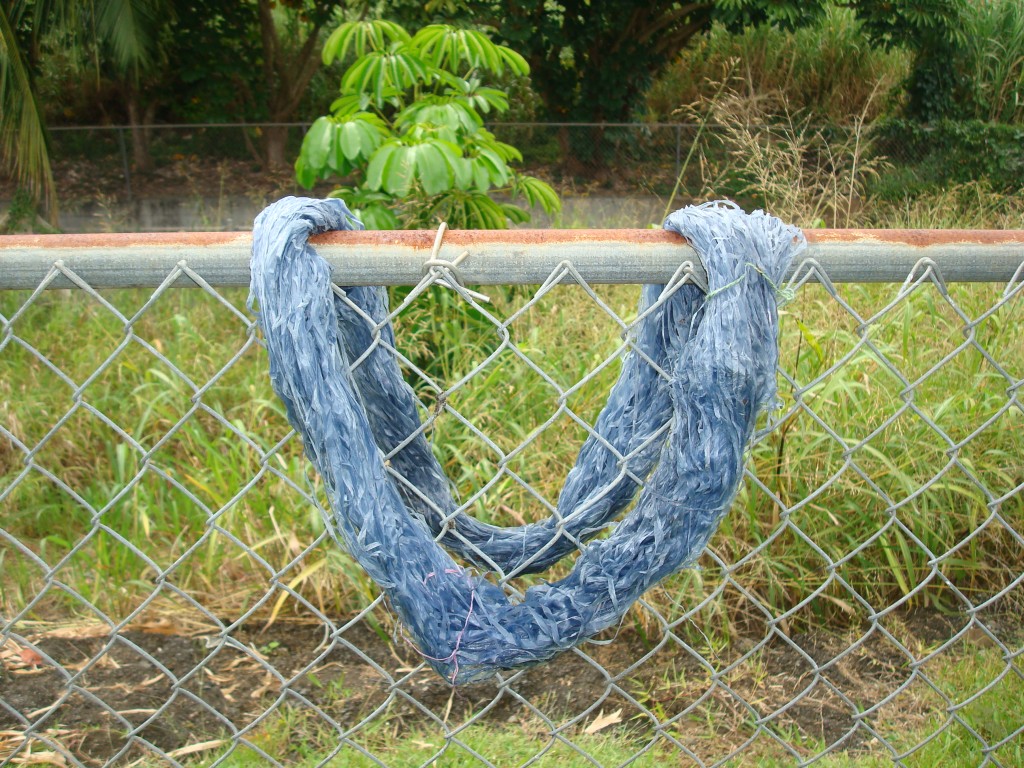
Hibiscus-dyed paper yarn with iron mordant added
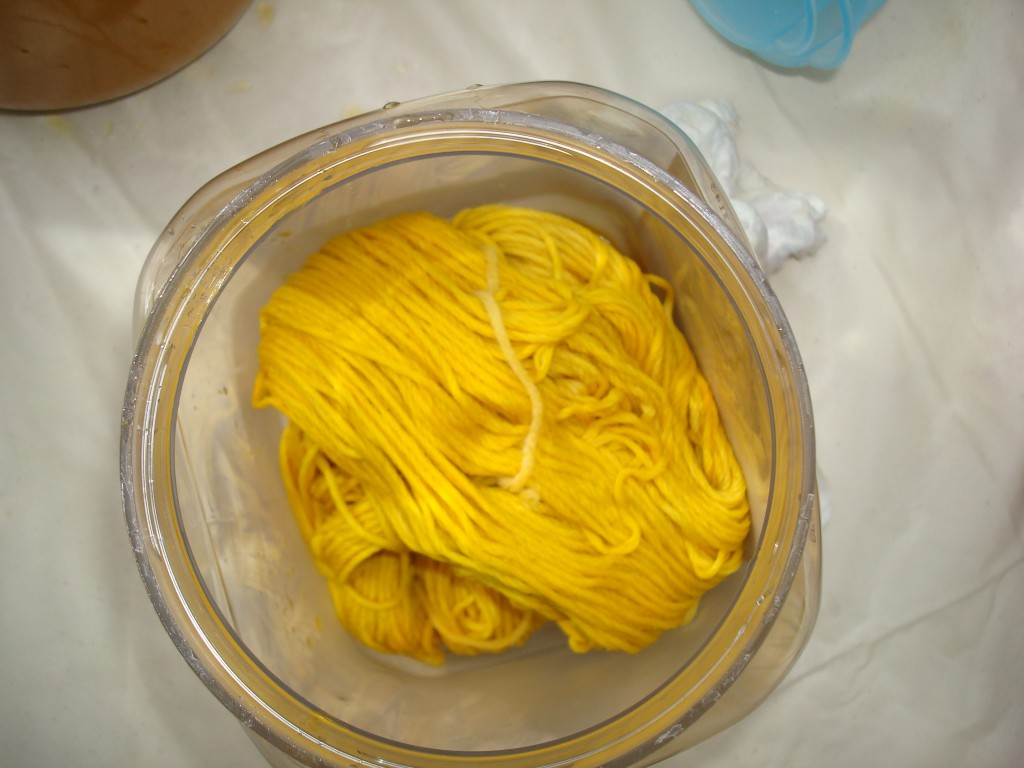
My small scraps of handspun yarn were dunked in a couple of batches of turmeric dye (with alum mordant added afterwards (I think).
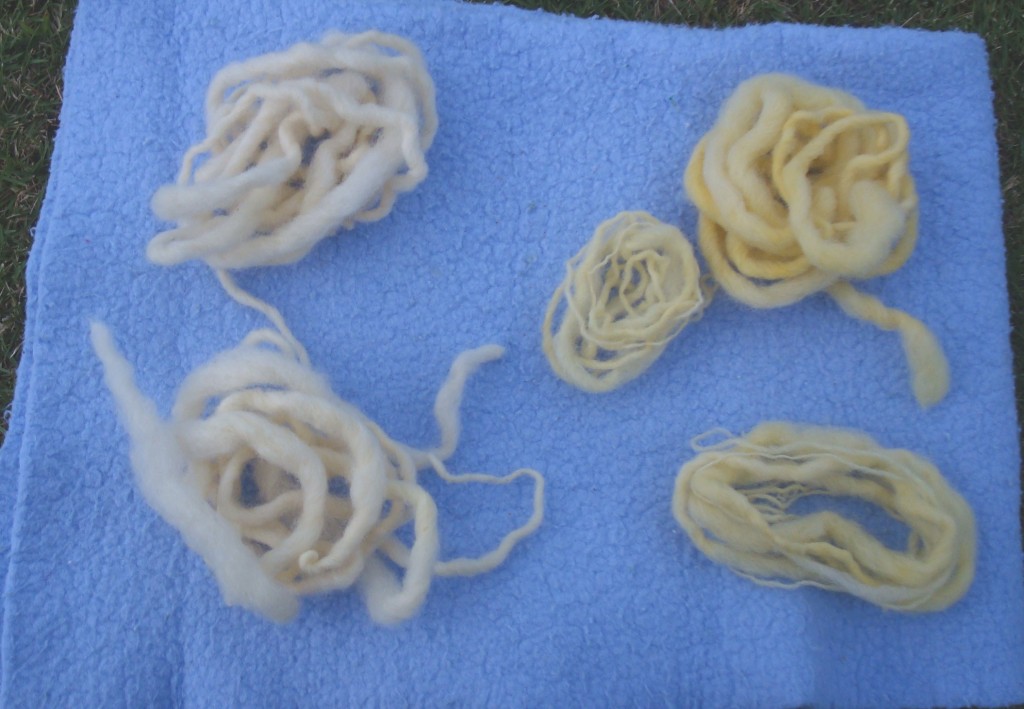
The lighter shade of yellow resulted from the fact that a big skein of yarn had already soaked up most of the dye in that batch, but I got a sightly darker shade of yellow in another batch of turmeric dye. I had two more pieces which I soaked in a jar of hibiscus dye. I don’t know how they turned out yet because the jar also included a skein of mohair yarn that belonged to Michelle Schwengel-Regala (organizer of the Hawaii Hyperbolic Crochet Coral Reef Project), so I let her take the jar home to let the yarn soak for a couple more days. But Michelle said she will upload photos of the yarn to the Flickr group (see link below) if they absorb any color.
All in all, we had a great time chatting, dyeing, and snacking on some “ono grinds.” To see more photos of our dyeing event, check out the Flickr photo group, Hawaiian Natural Dyeing. The photos are annotated so there’s more information there about the dyeing process.

